Movie set – 3c. Shooting dialogue

Category: Video

Objectives:

To become familiar with shooting  dialogue.

Short Description:

In this activity you will create 3 different shots of  dialogue, testing different techniques of camera position and planning different sets of shots.

Module:

Module 2 > chapiter 2 > section 3

Duration

25 minutes

Number of participants

No limit. Work in pairs or small groups,  depending on the cameras you have. 

  • Video camera
  • Tripod

Description step by step

  • Choose the setting (the background) and who will be  the actors in this dialogue scene. The dialogue should be something simple and short, max 2min. For example, speaking about the weather or introducing themselves to each other. 
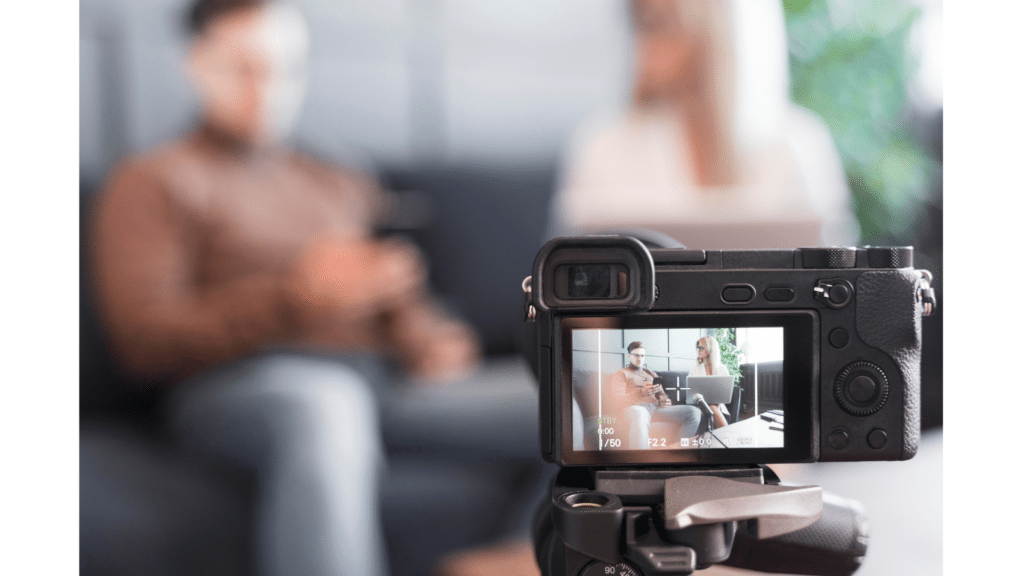
  • Shoot the dialogue with a tripod in a single scene where both actors are in the frame.
  • Shoot the scene with the camera handheld and be free to change angle or move in  closer or away.  
  • Shoot the dialogue in “pieces”. Name the actors A and B.  Make a different shot every time one of them is speaking.
  • Watch the shots and discuss the different results. Answer  questions like:
  • In which case  would you use each scene?
  • Which one do you prefer and why?
  • Do any of them cause any emotions?

Tips for the trainer

Explain to the participants: The shooting “in pieces” introduces you to the need for editing, where the different shots for A and B actors (like shot and countershot) should be connected to a unified result. Don’t forget to also capture the non-talking person’s reactions. Exactly as we see it in movies and TV shows.

Watch this video on Youtube  for more tips : Top 5 tips for filming dialogue

Nous utilisons des cookies

Nous utilisons des cookies pour améliorer votre expérience sur notre site web.

Accepter Cookie policy